Picking up where we left off on the previous article, you now know how to install the Cimbalino Toolkit in your app, so congratulations for that! :)
On this article I will show how to integrate it with the MVVM Light Toolkit, and then build a really simple “Hello World” app!
Note: Though this article will focus on how to integrate with the MVVM Light Toolkit, the Cimbalino Toolkit can be combined with most Windows development toolkits and frameworks that are available (like MVVMCross, Caliburn, etc.)
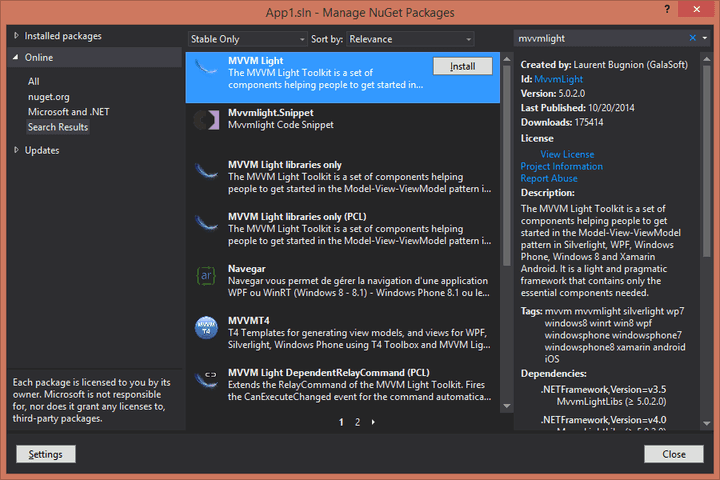
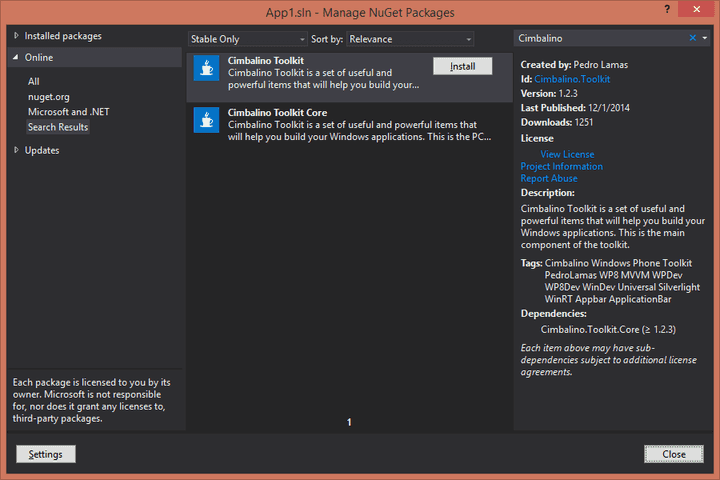
Using the same approach to add NuGet packages to the solution shown in the previous article, now search for “MvvmLight” and select the package shown in this picture:
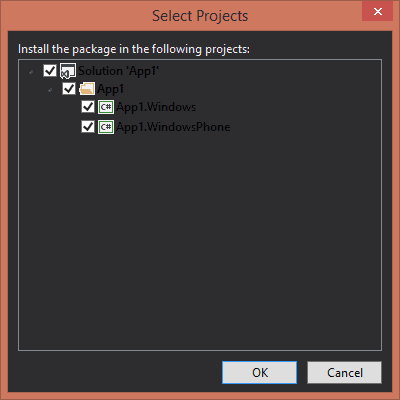
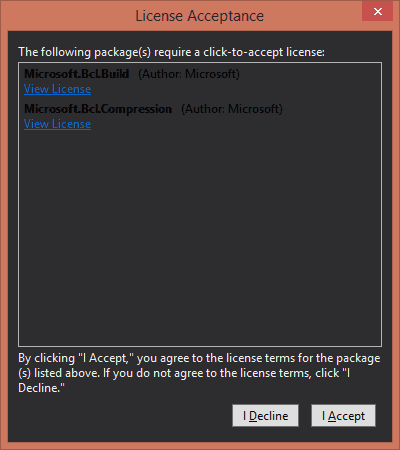
You should now click on the Install button, confirm that you want to install the package into both projects, review the details shown in the License Acceptance window, and click the I Accept button.
You will now see a couple of warnings about moving the ViewModel folder manually; this is expected and it is due to the fact that we are building a Universal App (you can find more information about this here).
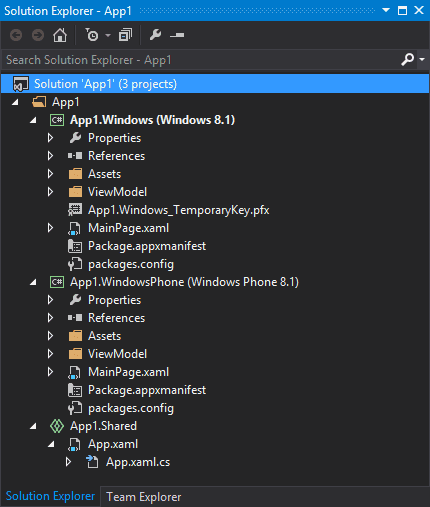
Look at the Solution Explorer Window, you should see that we have two ViewModel folders, one on each of the projects:
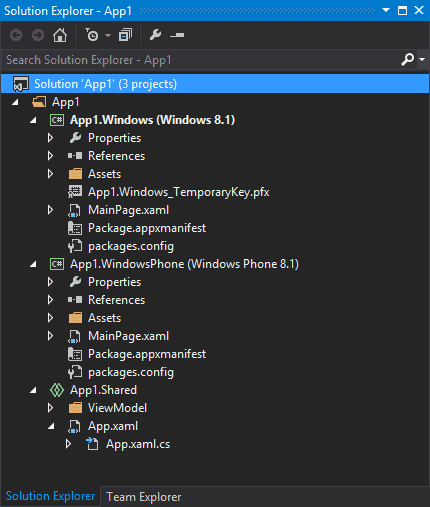
Go ahead and delete one of the ViewModel folders, and move the remaining one from the project to the shared files on the bottom. The end result should look something like this:
We now we need to register the IMessageBoxService with the ViewModelLocator so that we can use it in the MainViewModel to show message popups in the app!
Edit the ViewModelLocator.cs file and change it to the following:
using Cimbalino.Toolkit.Services;
using GalaSoft.MvvmLight.Ioc;
using Microsoft.Practices.ServiceLocation;


namespace App1.ViewModel
{
    public class ViewModelLocator
    {
        public ViewModelLocator()
        {
            ServiceLocator.SetLocatorProvider(() => SimpleIoc.Default);


            SimpleIoc.Default.Register<IMessageBoxService, MessageBoxService>();


            SimpleIoc.Default.Register<MainViewModel>();
        }


        public MainViewModel Main
        {
            get
            {
                return ServiceLocator.Current.GetInstance<MainViewModel>();
            }
        }


        public static void Cleanup()
        {
            // TODO Clear the ViewModels
        }
    }
}
As you can see above, we registered the IMessageBoxService with the MVVM Light Toolkit IoC Container by calling SimpleIoc.Default.Register<IMessageBoxService, MessageBoxService>(), and this is how we will use all of the services provided by Cimbalino Toolkit - and there are quite a lot of them!!
Now open the MainViewModel.cs file and change it to the following code:
using Cimbalino.Toolkit.Services;
using GalaSoft.MvvmLight;
using GalaSoft.MvvmLight.Command;


namespace App1.ViewModel
{
    public class MainViewModel : ViewModelBase
    {
        private string _name;


        public string Name
        {
            get
            {
                return _name;
            }
            set
            {
                Set(ref _name, value);
            }
        }


        public RelayCommand SayHelloCommand { get; private set; }


        public MainViewModel(IMessageBoxService messageBoxService)
        {
            SayHelloCommand = new RelayCommand(async () => await messageBoxService.ShowAsync("Hello " + Name + "!"));
        }
    }
}
We started by adding a couple of properties, Name and SayHelloCommand, that we are going to bind to the view.
We can also see a IMessageBoxService parameter in the MainViewModel constructor, which the IoC Container will satisfy by creating an instance of MessageBoxService and providing it to the constructor.
Inside the constructor, we declared what will happen when the SayHelloCommand is invoked: show a popup message box with the input name.
That takes care of the view model, time to work on the view!
On the shared files project, create a new folder named View, and inside it create a new user control named MainUserControl.xaml with the following content:
<UserControl x:Class="App1.View.MainUserControl"
             xmlns="http://schemas.microsoft.com/winfx/2006/xaml/presentation"
             xmlns:x="http://schemas.microsoft.com/winfx/2006/xaml"
             xmlns:d="http://schemas.microsoft.com/expression/blend/2008"
             xmlns:mc="http://schemas.openxmlformats.org/markup-compatibility/2006"
             DataContext="{Binding Main,
                                   Source={StaticResource Locator}}"
             d:DesignHeight="300"
             d:DesignWidth="400"
             mc:Ignorable="d">


    <StackPanel>
        <TextBlock Text="name" />
        <TextBox Text="{Binding Name, Mode=TwoWay}" />
        <Button Command="{Binding SayHelloCommand, Mode=OneTime}" Content="Say Hello" />
    </StackPanel>
</UserControl>
For the view we will use root StackPanel control, containing a TextBlock with a “name” label, a TextBox binded to the Name property in the view model, and a Button binded to the SayHelloCommand property.
Notice also on the top of the file that we set the user control DataContext property to use the ViewModelLocator.Main property, which returns the instance of the MainViewModel.
Now all that we needed is to add our MainUserControl to the MainPage.xaml file in each of the app projects. In the end, each of the MainPage.xaml files should be similar to this:
<Page x:Class="App1.MainPage"
      xmlns="http://schemas.microsoft.com/winfx/2006/xaml/presentation"
      xmlns:x="http://schemas.microsoft.com/winfx/2006/xaml"
      xmlns:d="http://schemas.microsoft.com/expression/blend/2008"
      xmlns:mc="http://schemas.openxmlformats.org/markup-compatibility/2006"
      xmlns:view="using:App1.View"
      mc:Ignorable="d">


    <Grid>
        <view:MainUserControl />
    </Grid>
</Page>
And… we are done!!!
Just run the Windows project and the Windows Phone project to confirm that our shared code does in fact work across the two platforms! :)
To make things even easier, you can download the full solution here!

